Robbie Thain
Founder, CEO

Trade show product demonstrations convert high-value buyers when structured around problem identification, verifiable proof, interactive testing.
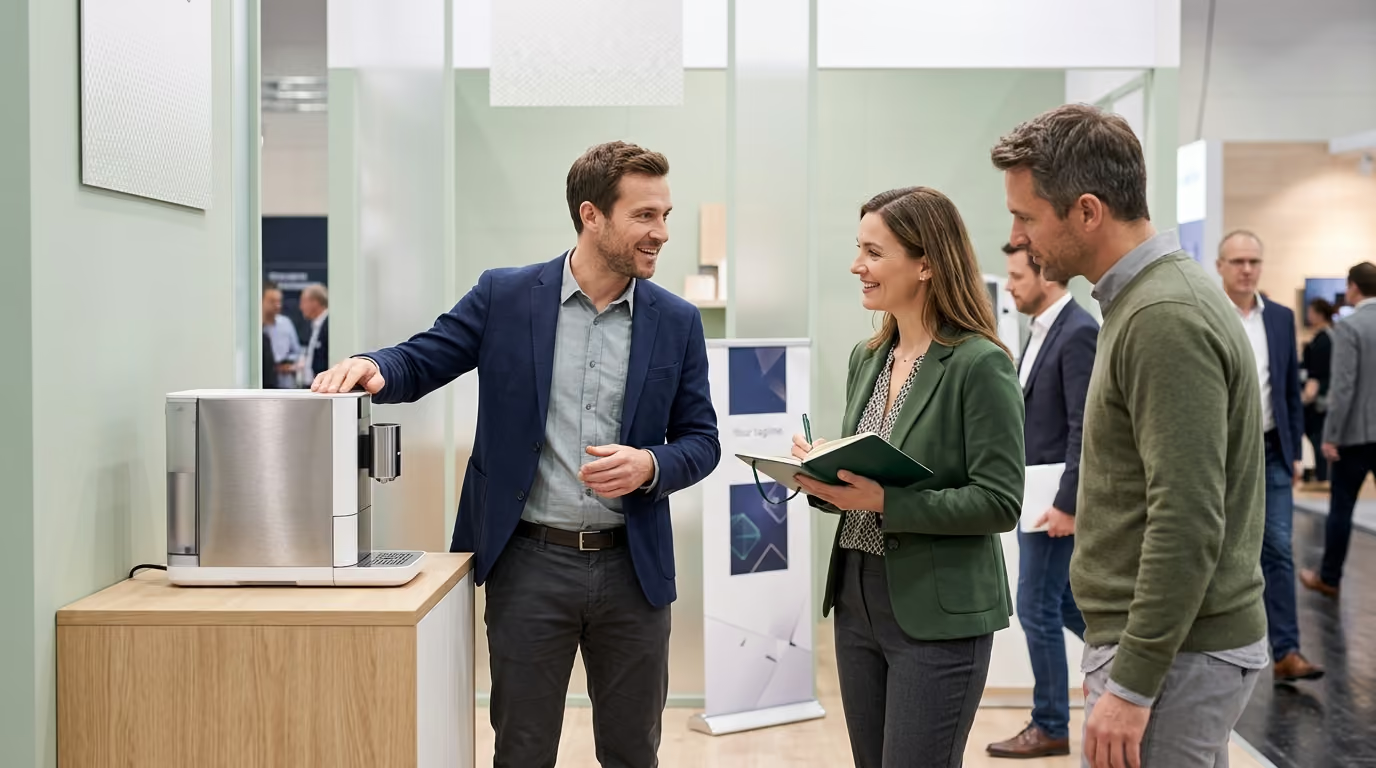
High-performing trade show product demonstrations are structured qualification engines rather than passive theatrical performances. When brands align observable product proof with role-based staffing and disciplined follow-up workflows, they convert trade show floor traffic into measurable commercial pipeline.
A trade show product demonstration is an active commercial tool designed to reduce buyer uncertainty. It is not an entertainment spectacle, a generic pitch to passersby, or an unscripted feature walk-through. A true demonstration isolates a specific operational problem, proves a tangible capability under realistic conditions, and secures a committed commercial next step.
Too many brand leaders invest heavily in booth real estate, custom lighting, and promotional giveaways without building a rigorous demonstration strategy. When visitors walk away entertained but uncommitted, the trade show budget is wasted. This guide provides a complete operating system for designing, staffing, executing, and measuring live product demonstrations that win serious business buyers.
The trade show floor is an environment of intense sensory competition, cognitive overload, and fractured attention. Hundreds of exhibitors compete for the attention of enterprise decision-makers and retail category buyers who walk the aisles with tight schedules. Most attendees scan booths from the aisle, make split-second evaluations, and keep moving if they see passive presentations or aggressive sales pitches.
In this environment, many exhibitors default to booth theater. They run looped video reels, stage generic hourly presentations, or distribute samples indiscriminately without qualifying who takes them. Crowds gather to watch a polished performance or collect branded merchandise, creating the illusion of booth traction. Yet when the show closes, the sales team inherits badge scans from unqualified attendees who cannot recall what was demonstrated or why it mattered.
Aisle congestion often masks severe operational inefficiencies. Booth personnel crowd the front perimeter, block sightlines, or talk among themselves instead of engaging qualified visitors. When an interested buyer asks a technical question, the staff member is often unable to explain implementation details, integration parameters, or commercial payback. The buyer moves on, leaving the exhibitor with high footprint costs and zero measurable pipeline.
Designing an effective product demonstration requires abandoning vanity metrics and treating the booth as an interactive qualification lab. Live trade show environments require precision logistics, clear floor zoning, and demonstrators trained to diagnose customer problems in real time. Winning trade show buyers demands an intentional balance between immediate physical engagement and disciplined commercial progression.
Most trade show demonstrations fail because they are designed as monologues rather than active evaluation experiences. Research on industrial trade show visitors shows that buyers immerse themselves in physical and cognitive environments requiring active participation. When an exhibitor forces an industrial buyer or retail merchant into a passive listening role, engagement drops immediately.
A second major breakdown occurs when exhibitors confuse product features with observable proof. A demonstrator who lists technical specifications without showing the mechanism in action fails to reduce buyer uncertainty. Research in trade show effectiveness confirms that uncertainty is resolved through face-to-face interaction, hands-on testing, and direct negotiation. If a buyer cannot see, touch, test, or challenge the performance claim, the demonstration remains an unverified assertion.
Poor booth staffing structures accelerate this failure rate. Academic research across commercial trade shows indicates that booth staffing has a statistically significant positive effect on attendee experience, while booth size alone does not. Furthermore, the positive impact of knowledgeable staffing increases as the overall show size grows. In large, noisy convention halls, overwhelmed buyers rely heavily on personnel helpfulness and technical competence to navigate their purchasing choices.
Traditional demonstrations also fail downstream because exhibitors treat the interaction as an isolated transaction. A large-scale empirical study showed that a positive booth experience does not automatically generate immediate post-show purchases. Instead, strong booth experiences drive revenue when paired with timely, context-rich post-show contact. When booth staff fail to record the specific operational pain points discussed during a demo, subsequent sales outreach defaults to generic messaging that fails to advance the deal.
To convert casual aisle traffic into pipeline, marketing operators must replace generic presentations with a structured proof sequence. This framework moves the buyer from problem identification to active testing, comparative evaluation, and commercial commitment. The objective is to make the core product benefit unmistakable within three to five minutes.
For brands planning their presence, deploying demo-centric trade show experiences ensures that every square foot of the footprint supports buyer evaluation. The proof sequence operates across six structured steps:
Open by stating the precise operational friction, supply chain challenge, or margin loss your product resolves. Do not talk about your company history or product specifications. Frame the situation in terms of current industry workflows and the cost of maintaining the status quo.
Place the product directly within the operating context where the problem occurs. For a food brand, this means simulating retail shelf placement or back-of-house kitchen prep. For an industrial technology brand, this means displaying the product within a realistic assembly line or data architecture.
Demonstrate the exact physical, chemical, or digital mechanism that solves the problem. If your packaging eliminates leaks, subject it to real pressure testing in front of the buyer. If your software speeds up inventory reconciliation, run a live calculation on real data.
State the commercial outcome clearly. Translate the physical proof into reduced labor hours, lower spoilage rates, higher retail margin velocity, or decreased downtime. Give the buyer the exact financial justification they need to present to their internal procurement committee.
Hand the tool, ingredient, interface, or product to the prospect. Encourage them to test its durability, taste its profile, or attempt to break the workflow. Active participation shifts the buyer from skepticism to cognitive ownership.
Close the interaction by establishing an agreed commercial next action. This might be a scheduled technical validation call, a formal sample evaluation kit, a pilot deployment, or a localized retail trial. Never end a demonstration without mutual commitment.
Booth staffing determines whether an experiential concept generates revenue or friction. Adding more staff without defined responsibilities creates aisle clutter and confuses visitors. Instead, exhibitors must build role-based teams organized around conversation capacity and lead qualification.
Our team has found that structuring staff into specialized roles ensures that high-value buyers receive immediate, focused attention while casual visitors are handled efficiently. A high-conversion staffing model consists of five distinct functions:
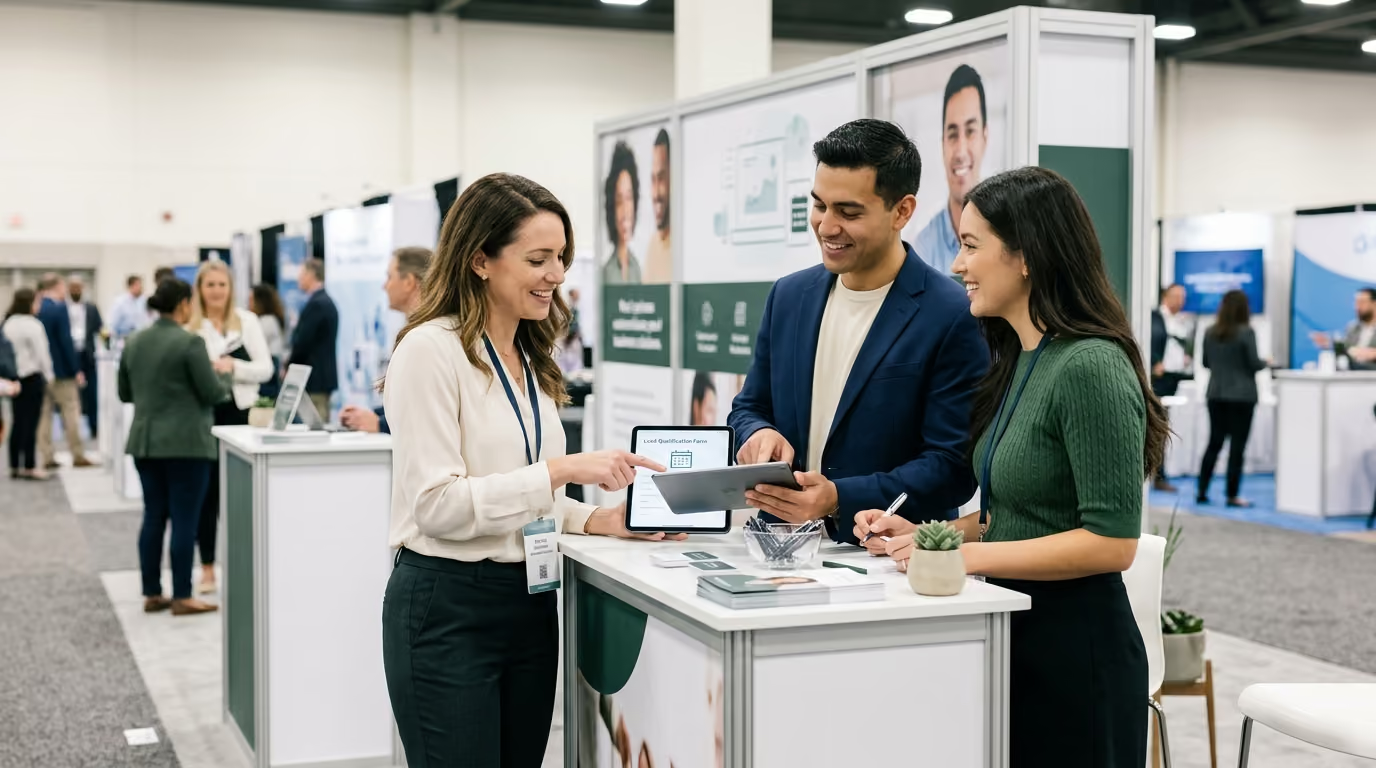
Stationed at the aisle perimeter, the Attractor observes traffic flow, spots high-priority buyer profiles, and initiates conversations. Their goal is to identify qualified roles within 30 seconds and introduce them to the demonstration area.
The Demonstrator is a technical specialist, culinary expert, or product engineer who executes the proof sequence. They focus entirely on clear execution, technical accuracy, and managing hands-on buyer testing.
The Qualifier stands adjacent to the demo zone, listening to the buyer's questions and operational context. They ask targeted diagnostic questions regarding purchasing authority, existing vendors, implementation timelines, and budget availability.
The Closer is a senior sales representative or account director who handles commercial terms, pricing models, and formal contract structures. Once a prospect completes the demo and shows strong buying intent, the Closer steps in to schedule a formal evaluation.
The Lead Captain monitors overall booth flow, lead capture accuracy, and data completeness. They ensure that every staff member logs detailed context rather than bare badge scans.
Rigid memorized scripts sound artificial and prevent meaningful dialogue. Instead, staff should master a modular, branching conversational script:
In our experience designing retail launch activations and mobile roadshows, this disciplined approach transforms initial product trial into sustained consumer confidence and retail performance. When launching products during critical 90-day retail windows, structured demonstration scripts allow brand ambassadors to build instant trust with retail buyers and consumers alike.
Different products, buying cycles, and audience types require tailored demonstration formats. Selecting the wrong format can cause bottlenecking, high costs, or low buyer comprehension. Exhibitors must treat format selection as a strategic variable and test variations directly on the trade show floor.
To explore physical booth layouts that support these formats, review our practical guide on trade show booth experiences that convert.
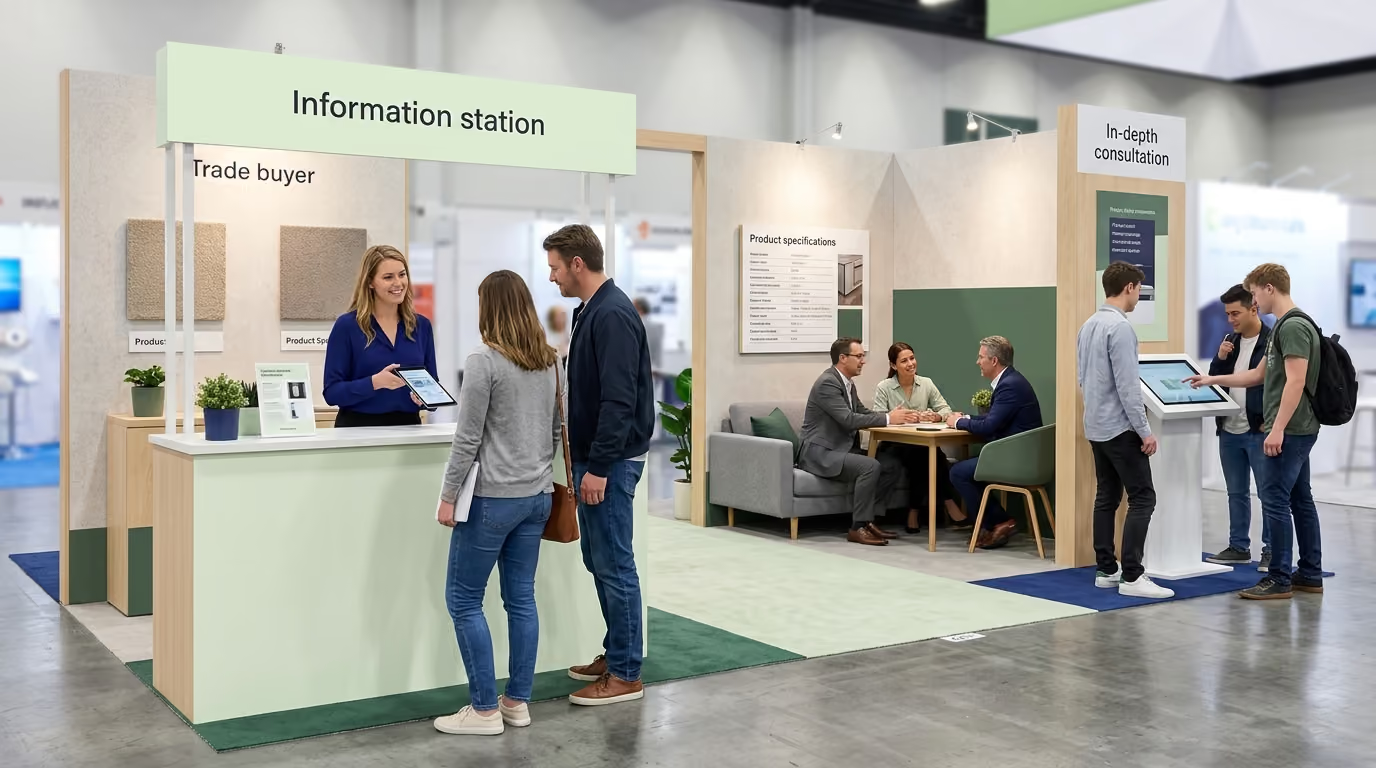
Micro-demos last two to three minutes and run continuously throughout the show day. They focus on a single high-impact benefit, such as rapid assembly, unique texture, or durability under stress. This format works well for high-traffic consumer packaged goods and straightforward hardware products.
These deep-dive sessions last 15 to 20 minutes and are scheduled at set intervals or booked in advance. They cater to technical buyers, operations directors, and engineers who require comprehensive architectural reviews or regulatory compliance breakdowns.
Self-guided stations allow visitors to interact with the product at their own pace using interactive touchscreens, guided sample kits, or modular testing fixtures. This format captures interested prospects when all booth personnel are actively engaged with other buyers.
This high-conviction format places your product directly next to standard industry solutions. Buyers observe or conduct identical stress tests, taste tests, or speed comparisons on both items. Side-by-side testing provides indisputable proof and cuts through marketing ambiguity.
Sensory elements should only be included if they deliver direct product evidence. Incorporating sensory experience design for trade show booths means using tactile materials, acoustic isolation, or olfactory sampling to clarify product performance rather than generate superficial novelty. If a sensory cue does not answer a buyer's operational question, it introduces unnecessary distraction.
Live demonstrations involving heat, machinery, culinary preparation, chemicals, or moving parts introduce severe liability risks. Exhibitors must execute a comprehensive safety assessment before arriving on site:
Executing a flawless product demonstration requires disciplined operational choreography before, during, and after the exhibition. Follow this chronological playbook to ensure high performance.
For specialized guidance on engaging retail category managers during major trade events, review our framework on designing trade show booths for product trials and retail buyer meetings.
Calculating true trade show Return on Investment requires tracking both leading operational metrics on the floor and lagging financial metrics throughout the sales cycle. Relying solely on total badge scans gives a distorted view of trade show productivity.
To implement comprehensive tracking across your entire field footprint, reference our complete resource on trade show experiences that drive real business.
$$\text{ROI} = \left( \frac{\text{Gross Profit from Show Pipeline} - \text{Total Event Investment}}{\text{Total Event Investment}} \right) \times 100$$
When demonstration pipelines underperform, marketing leaders can isolate the failure point using this operational diagnostic framework:
A premium plant-based beverage brand preparing for a national retail launch faced severe skepticism from supermarket category managers. Retailers worried about two critical issues: whether consumers would accept the alternative-protein taste profile and whether the product could maintain emulsion stability under inconsistent supply chain refrigeration. Previous trade show appearances produced large crowds sampling the product, but few retail buyers followed through with distribution agreements.
The brand redesigned its trade show demonstration strategy around active operational proof rather than passive sampling. They established a split-zone booth featuring an outward-facing consumer trial bar and a private, structured retail buyer evaluation station. The brand pre-booked 28 formal demonstration slots with national and regional grocery buyers prior to the event.
During each 10-minute buyer demonstration, the team executed a structured proof sequence. First, the demonstrator addressed the industry-wide shrink problem caused by emulsion breakdown in plant-based milks. Next, they conducted a side-by-side acidity and heat stability test, pouring both their beverage and the leading competitor into hot, high-acid coffee in front of the buyer. The competitive product separated and curdled, while the brand's formulation remained perfectly smooth.
The demonstrator immediately handed tasting glasses to the category manager, proving taste and mouthfeel were preserved. The Qualifier then presented a localized margin velocity model showing projected revenue per linear foot based on regional demographic data. Finally, the Closer secured an agreement to ship a comprehensive 30-day store trial kit directly to the buyer's regional merchandising committee.
By shifting from generic sampling to a rigorous proof sequence, the brand achieved exceptional conversion:
For consumer brands requiring deep retail distribution strategies, our guide on designing product demonstrations for high-consideration retail provides additional operational frameworks.
A standard walk-up trade show demonstration should last between two and four minutes. This allows sufficient time to establish the operational problem, execute visible proof, and capture qualification data without causing aisle congestion. Scheduled technical demonstrations for pre-qualified enterprise buyers can extend to 15 or 20 minutes in a dedicated private meeting zone.
Avoid running loud, generic entertainment spectacles or offering untargeted free promotional items. Instead, use problem-focused booth signage that poses direct operational questions relevant only to your target decision-makers. Train your perimeter staff to screen badge titles and company profiles before inviting visitors into the demonstration area.
A standard demonstration station requires a minimum of three coordinated roles: an Attractor to manage perimeter traffic, a Demonstrator to execute the technical proof sequence, and a Qualifier to capture commercial data and schedule next steps. For larger booth footprints, adding a dedicated Lead Captain ensures data integrity across multiple simultaneous demonstration stations.
High-priority qualified leads should receive tailored follow-up communications within 24 to 48 hours of the demonstration. The outreach must reference the specific use case, operational challenge, or test result observed during their booth visit. Waiting longer than three days significantly degrades lead conversion velocity and buyer recall.

30 Years Experiential & Retail Activation Partner for CPG & Beverage Brands | Multi-Market Demos, Roadshows & Costco/Club Programs That Actually Sell