Robbie Thain
Founder, CEO

Flawless live brand activations require turning ambitious design concepts into functional spaces with strict operational planning and reliable physical engineering.
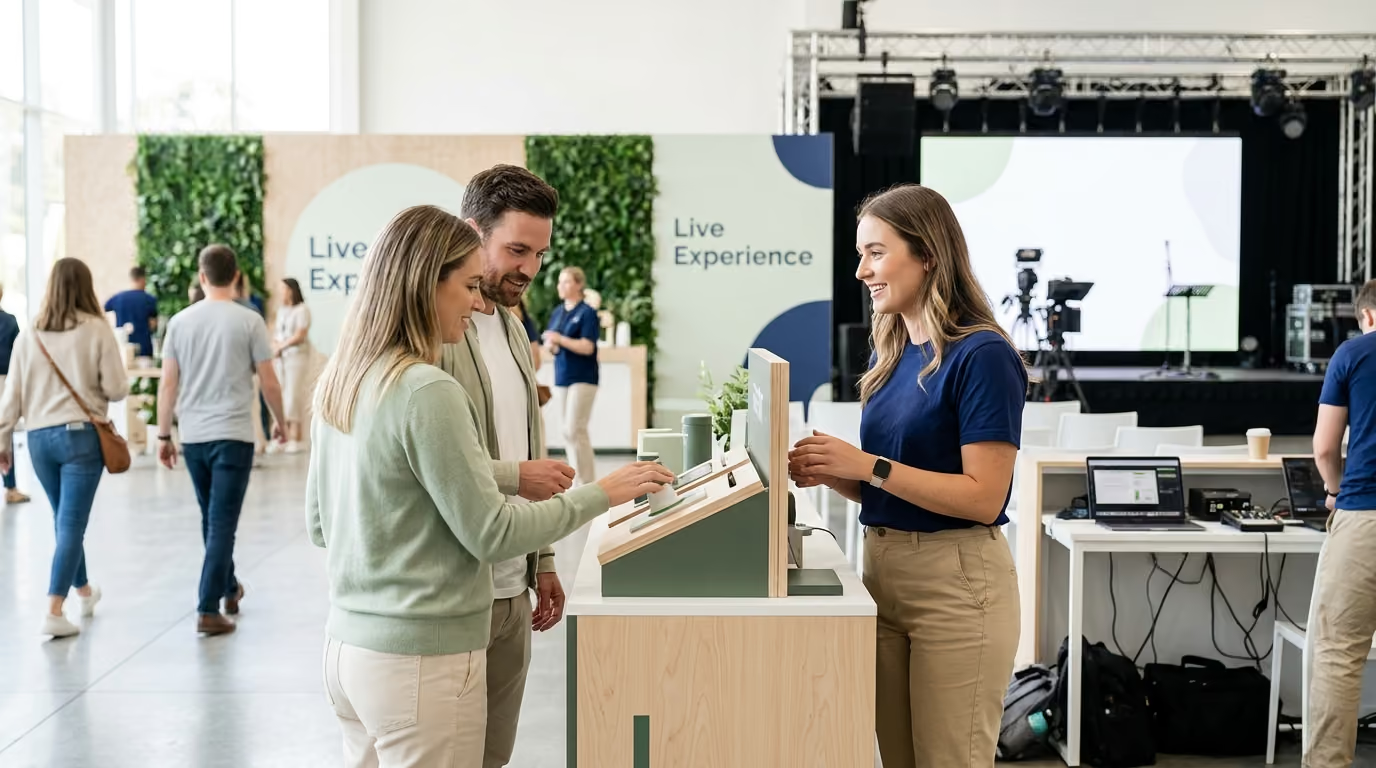
Experiential production is the disciplined translation of an abstract brand proposition into a physical, behavioral, and measurable environment. This field manual outlines the operational mechanics required to move a creative concept from initial sketches to fabrication, site installation, and live operational success.
Every trade show season, marketing teams fall in love with rendered 3D models that look flawless on a screen. Then move-in day arrives at the convention center. The custom hanging sign exceeds ceiling weight ratings. The interactive product testing bar lacks dedicated circuits. A three-hundred-person line spills into the main aisle, blocking neighboring booths and drawing fire marshal warnings. The physical build looks impressive, but the operational flow collapses, leaving brand ambassadors flustered and qualified attendees walking away.
Experiential production is not scenic decoration or event logistics. It is the engineering layer that aligns creative ambition with physical reality. An agency can design a breathtaking visual environment, but if that space fails to direct human behavior, it fails as a marketing asset. Live brand experiences succeed only when every physical component supports a clear business outcome.
We evaluate experiential builds using a core operating equation:
Experience quality = strategic relevance × human participation × physical reliability × operational readiness.
This model is strictly multiplicative. If any single variable falls to zero, the entire live activation deteriorates. A visually stunning build with no audience interaction produces passive viewing instead of brand affinity. A strategically sound concept that breaks under heavy foot traffic frustrates attendees. A functional space with poorly trained staff creates bottlenecks that destroy throughput.
The distinction between exposure and participation explains why so many high-budget activations underperform. Exposure simply means an attendee saw a logo or walked past a structure. Engagement means they paused to give the brand temporary attention. Participation occurs when an attendee takes an active physical step. They test a product, complete a diagnostic, speak with a brand specialist, or customize an item.
According to attendee research from Freeman, 75% of surveyed participants prefer product demonstrations and hands-on activities as their primary in-person learning format, while 52% seek unstructured interaction with subject-matter experts. When production teams prioritize scenic backdrop over human participation, they build monuments rather than conversion engines. Creative concepts fail on the live floor because designers build for the camera lens rather than the human participant moving through space.
A production-ready brief must do more than outline aesthetic goals and brand colors. It must define the operational boundaries of the physical build before fabrication begins. Teams often rush into creative ideation with incomplete briefs, which causes expensive structural revisions during engineering. A rigorous brief requires five distinct, structured layers.
The strategic layer establishes the commercial purpose of the activation. It identifies the target audience, the core product proposition, and the single measurable action the attendee must complete. This layer separates what the brand wants to communicate from what the visitor must physically do. Stating a goal to increase awareness is insufficient. The brief must specify whether the visitor should sample a food product, test a device, or book an enterprise consultation.
The experience layer outlines the participant journey across time. It defines the arrival threshold, the duration of the core interaction, the emotional arc, and the exit mechanism. This layer details how staff facilitate interactions and how physical touchpoints guide the attendee. Research from Freeman indicates that immersive environments positively influence 64% of attendees, while technology that simplifies the event experience impacts 44%. Technology must serve the human experience rather than act as an expensive gimmick.
The spatial layer defines the physical constraints of the activation footprint. It specifies square footage, clear ceiling heights, floor load limits, and local venue utility locations. It details entry points, egress paths, sightlines, back-of-house storage, and staff rest areas. Incorporating thorough operational planning for live brand events at this stage prevents severe site-access delays during move-in. Ground load-bearing capacities and utility trench layouts must be confirmed before any structural footprint is approved.
The operational layer details daily show conditions. It establishes setup windows, teardown hours, power distribution, internet bandwidth, and waste disposal. It sets staffing ratios, training requirements, replenishment schedules, and emergency response procedures. The brief must document who holds decision-making authority when weather, union rules, or technical failures disrupt operations. Management systems must coordinate all onsite vendor activities to maintain complete control of the space.
The measurement layer establishes the data collection architecture. It defines exact lead and lag indicators, from physical foot traffic to qualified lead volume. It specifies the hardware and software tools needed to capture data without slowing down attendee throughput. Writing the measurement plan before creative concepting guarantees that data collection points are built directly into the physical architecture.
Before committing capital to physical fabrication, concepts must pass systematic evaluation. Creative concepts should never be selected solely on visual presentation. They must be evaluated against practical feasibility, brand relevance, and operational throughput.
Every concept should be scored on a standardized scale against fourteen operational criteria:
Every concept requires a defined Minimum Viable Experience. This represents the smallest, most durable version of the activation that preserves the core consumer interaction.
If a multi-room trade show activation must be cut due to venue restrictions, the team deploys the Minimum Viable Experience. This might be a single, self-contained demonstration counter featuring the primary product test. Defining this baseline early protects the campaign when budgets fluctuate, venues change, or shipping delays occur.
Three analytical filters must be applied to every proposed concept:
Evaluate the experience if all walls, overhead lighting, video screens, and scenic dressings disappear. If the core participant action is no longer compelling, the concept relies on expensive scenic decoration rather than meaningful engagement. The physical build should amplify the core interaction, not mask a weak concept.
Evaluate the concept if all logos and branded graphics are removed. If the activation remains indistinguishable from a generic lounge or tech showcase, the brand linkage is insufficient. The physical mechanics, materials, and interactions must communicate the identity of the brand.
Analyze what the participant experiences while waiting in line. A line should never be dead operational time. It must deliver brand value through visual storytelling, digital pre-registration, product sampling, or staff interaction. Efficient queue design reduces perceived wait times and increases conversion rates.
Moving directly from a 3D digital render to full-scale fabrication introduces massive financial and operational risk. Prototyping exposes flaws in flow, ergonomics, and durability while adjustments remain inexpensive. A disciplined production workflow uses six progressive prototyping stages.
Paper prototyping maps user journey steps, signage copy, and brand ambassador dialogue. The team walks through the interaction step by step to identify confusing instructions or awkward phrasing. This phase validates the core user journey before any physical materials are purchased.
Spatial tape-outs use floor tape in a warehouse to mark the exact footprint of walls, counters, queues, and equipment. Staff move through the taped layout to evaluate clearances, sightlines, and accessibility paths. This test quickly reveals narrow passageways, blind spots, and awkward counter heights.
Material mockups test physical samples of proposed laminates, textiles, metals, and graphic substrates. These samples are tested under commercial cleaning chemicals, heavy abrasion, and variable lighting temperatures. Testing materials in advance prevents finishes from scuffing, glaring under show lights, or failing fire-retardancy standards.
Functional prototyping tests all moving components, sensors, custom software, and specialized demonstration equipment. These systems run continuously for dozens of cycles to assess thermal limits and software stability. Catching electronic and mechanical failures during testing prevents embarrassing malfunctions on show day.
Staff simulations place live operators in the physical prototype to run full engagement cycles. This testing identifies whether the interaction takes longer than planned and whether reset procedures cause delays. It also verifies that brand ambassadors can operate equipment comfortably throughout long shifts.
Stress testing evaluates how the build holds up under worst-case operational conditions. Activations are tested under maximum crowd volume, spotty internet connectivity, high ambient noise, and power interruptions. The team documents failure modes and establishes manual operational workarounds for every scenario.
A successful prototype does not need to look finished. Its true purpose is exposing operational blind spots and engineering risks before fabrication begins.
A 3D design rendering communicates creative intent, but a fabrication specification acts as an exact construction contract. Incomplete specifications lead to budget overruns, improper material substitutions, and compromised structural integrity. Detailed specifications guarantee that fabricators build the exact environment approved by the brand team.
Before any fabrication begins, the general contractor and production lead must sign off on a complete drawing package:
Material choices must balance aesthetic goals with commercial durability, fire safety, and transport weight.
Substrates must withstand constant public handling and frequent cleaning without showing wear. High-traffic surfaces require non-porous, stain-resistant materials like high-pressure laminates or solid surface composites. Paint finishes should utilize commercial scuff-resistant formulations with satin or matte sheens to reduce harsh glare from convention lighting.
All interior fabrics, drapery, and tension structures must meet NFPA 701 fire safety standards. Rigid construction boards and wall claddings must comply with ASTM E84 Class A flame spread ratings. Event producers must keep certified testing documentation inside the master onsite binder for fire marshal inspections.
Graphic production files require strict color management across different print substrates. Large-format graphics must be reviewed at their actual viewing distances to maintain typographic legibility. High-traffic floor graphics require heavy-duty, slip-resistant overlaminates rated for wet and dry conditions.
Safety, crowd dynamics, and universal accessibility must be engineered directly into the floor plan from the very beginning. Treating these factors as afterthoughts compromises visitor safety, creates legal liabilities, and leads to costly on-site modifications.
Managing visitor movement requires planning for three distinct operational phases: arrival, circulation, and exit.
The arrival zone requires sufficient queuing space to keep waiting lines from blocking main venue aisles. The UK Health and Safety Executive highlights that unmanaged crowds create dangerous pressure points when viewing areas block main circulation paths. Positioning main attractions along interior booth walls rather than aisle perimeters pulls crowds deeper into your space.
Aisles within the activation footprint should maintain minimum clear widths of six to eight feet. This spacing accommodates high-traffic flow without causing uncomfortable crowding around active demonstration stations. Exit paths must lead guests away from active engagement zones to keep conversion areas clear for new visitors.
Temporary overhead structures, ground-supported towers, and elevated platforms represent significant operational risks if unmanaged.
All temporary ground-supported structures used in event activations must meet ANSI E1.21-2024 standards. This standard defines structural design, load parameters, and wind management criteria for temporary installations. Outdoor activations must include documented wind action plans with defined operational thresholds. High-profile graphic walls and overhead canopies require specific wind speed limits for removing panels or safely lowering structures.
Ballast calculations must be certified by a licensed structural engineer based on site conditions. Never use generic weight estimates for anchoring. Water ballasts, concrete blocks, and ground anchors must be inspected and signed off before opening the space to visitors.
Accessible design ensures that every attendee can fully participate in the brand experience rather than being routed to an auxiliary path. Under the 2010 ADA Standards, an accessible route must provide a continuous, unobstructed path connecting all event spaces.
All raised flooring systems require integrated ramps with slopes not exceeding a 1:12 ratio. Edge protection must be installed along all ramp runs to prevent mobility devices from slipping off the surface. Interactive displays, sampling bars, and service counters must feature lowered sections no higher than 36 inches from the floor.
Interactive digital kiosks must offer physical or visual alternatives for attendees with sensory impairments. Provide closed captioning on all video assets, high-contrast user interfaces, and tactile or audio alternatives for touchscreens. Incorporating contingency planning for field operations ensures team members are trained to assist attendees professionally and safely.
Modern event production demands responsible material sourcing and lower environmental impact. The ISO 20121:2024 standard provides an international framework for event sustainability management systems.
Sustainable production requires designing modular, reusable scenic assets that can be reconfigured across different footprint sizes. Prioritize FSC-certified timber, recyclable aluminum framing, and water-based, low-VOC surface coatings. Build relationships with local material recycling partners to keep temporary scenic elements out of municipal landfills after teardown.
A successful live event depends on a structured handoff process between design, fabrication, and field operations teams. Miscommunication between these teams is a primary cause of onsite operational breakdowns. A structured handoff protects the creative concept while giving field operators the tools they need to succeed.
Our production process uses seven mandatory approval gates:
Late design modifications introduce significant operational risks during fabrication and installation. An unapproved adjustment made to a counter finish can unexpectedly alter weight distributions, power configurations, and assembly timelines.
Every requested scope change must be classified into one of eight distinct categories:
Structural, safety-critical, and accessibility changes require formal sign-off from both the lead technical producer and licensed structural engineers. Unmanaged scope adjustments can quickly cause budget overruns and safety hazards on the show floor.
The operational run of show details every minute of active event operation:
Investing in specialized field staff training and execution ensures brand ambassadors understand operational scripts, equipment reset procedures, and visitor engagement flows.
Measuring experiential marketing requires connecting physical engagements with business metrics. The EventTrack study by Event Marketer reveals that 98% of surveyed consumer event marketers report steady or increasing Return on Investment from experiential activations. However, establishing clear Return on Investment requires tracking lead and lag indicators across multiple operational levels.
Capturing accurate field data requires integrating physical and digital tools seamlessly into the activation footprint.
Optical or overhead infrared sensors accurately track foot traffic and dwell times without collecting personal data. Interactive digital displays capture first-party user data during trial registrations or custom product configurations. Dynamic QR codes and NFC tap points allow attendees to access product specifications, lookbooks, and store locators directly on personal devices.
Pairing digital interactions with immediate, tangible incentives, such as personalized samples or customized items, lifts data capture completion rates. Establishing closed-loop tracking by connecting live activations to retail sell-through bridges live event engagements with regional retail sales.
A leading national functional beverage brand partnered with Makai to launch a high-potency product line at major retail trade expos and outdoor consumer festivals. The primary challenge was showing product efficacy while managing fast sampling lines in a compact footprint.
Our team designed a modular, high-efficiency sampling environment built for speed, safety, and clear product education. The build featured a four-station sampling bar made with non-porous solid-surface counters, commercial refrigeration, and integrated drainage.
To prove product performance claims, we built two interactive testing kiosks into the space. Attendees completed a 45-second visual focus assessment while sampling the beverage, creating an engaging, memorable brand experience.
One of our clients, a Brand Manager in the alcohol beverage space, shared their experience: "Working with Makai was a turning point for our brand. The activation blew past all our KPIs and created a lasting emotional connection with our customers. Simply outstanding work."
The operational results confirmed the effectiveness of the production framework:
By prioritizing rapid reset cycles, durable materials, and intuitive flow, the team turned an ambitious concept into a high-converting field asset. Evaluating standard field marketing activation metrics provides operational teams with clear performance data across all tour stops.
Outdoor temporary structures must adhere to ANSI E1.21-2024 standards and local municipal building codes. Standard temporary canopies and graphic towers require operational reviews when sustained winds hit 20 miles per hour. All outdoor activations should plan for wind gusts reaching 35 miles per hour. At this speed, operations must pause to remove fabric graphics, secure loose gear, and lower overhead trusses. Activations must suspend operations immediately if lightning is detected within an eight-mile radius.
Every digital installation requires a documented manual operational fallback. If an interactive touchscreen fails, staff should transition immediately to physical demo kits and printed visual guides. Applications must feature offline caching modes to maintain data capture functionality during convention Wi-Fi outages. Maintain hot-swappable replacement tablets, backup power supplies, and hardwired network cables back-of-house for fast troubleshooting.
High-volume food and beverage activations function as regulated commercial kitchens. These setups require health permits, dedicated power for refrigeration, commercial handwashing sinks, and graywater disposal tanks. Storage staging must balance refrigerated stock with dry storage to support peak distribution hours. Surface materials must be non-porous and NSF-compliant to allow fast, effective sanitization between visitor groups.
Onsite data capture must comply with state and federal privacy regulations, including CCPA and regional consumer privacy laws. Registration forms must clearly state how personal contact information will be stored, processed, and used. Avoid collecting personal data as a mandatory requirement for basic booth entry or simple product trials. Provide clear, prominent opt-in checkboxes on all digital forms, and secure local capture devices using enterprise encryption.

30 Years Experiential & Retail Activation Partner for CPG & Beverage Brands | Multi-Market Demos, Roadshows & Costco/Club Programs That Actually Sell